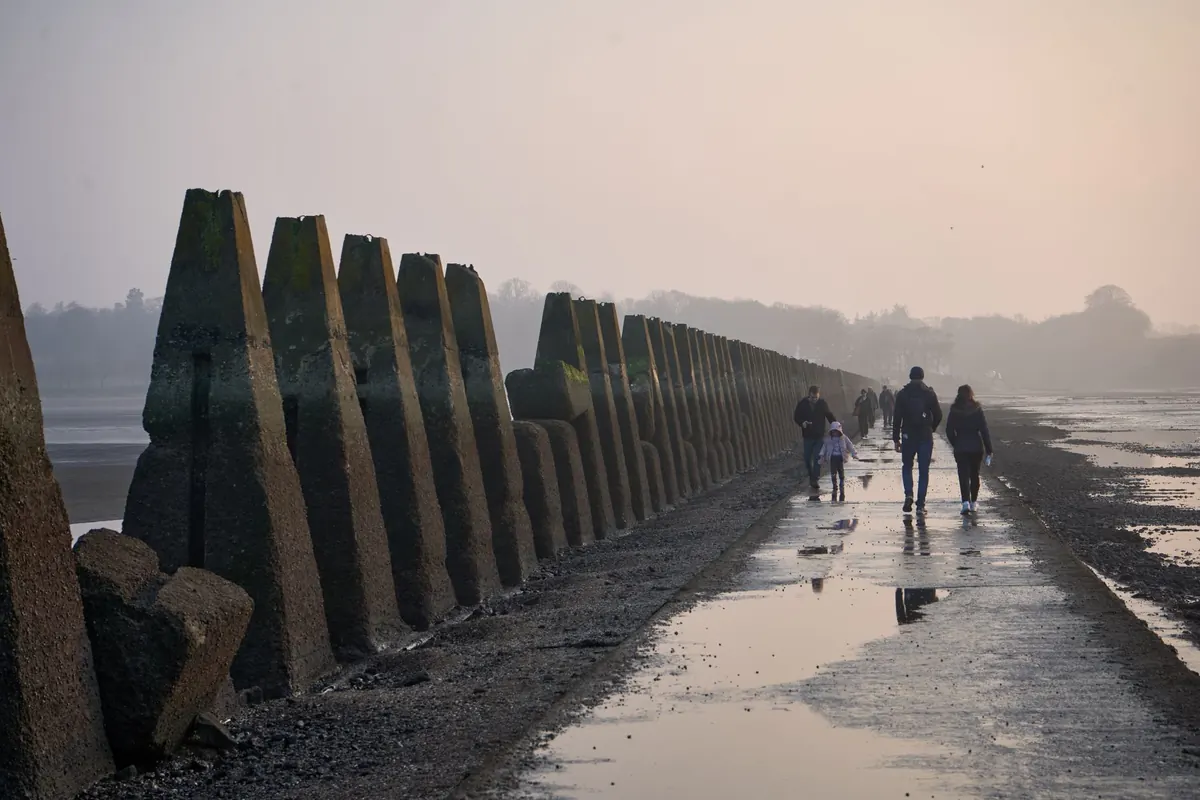
A low tide can turn a stretch of mud, sand and wet stone into a road. That is the whole appeal of a tidal island: for a few hours the sea steps aside and you walk across. It is also the reason a handful of people every year end up stranded on a causeway with water on both sides, cold, embarrassed and waiting for a lifeboat.
Tidal islands are not dangerous places. Tides are predictable, and the information you need is free. What catches people out is the gap between a published high-water time and what is actually happening underfoot at their particular crossing on that particular day.
Plan it properly and the tide becomes part of the pleasure — a natural clock that gives the day a shape. Here is how to work out your own window and leave yourself room to enjoy it.
Why Tidal Islands Catch People Out
Water does not arrive at a causeway like a wave. It creeps in from the edges, fills the channels first, then spreads across the low ground with a speed that surprises anyone seeing it for the first time. The time that matters is not high water. It is the moment the route starts to flood, which can be a long while before the tide reaches its peak, and earlier still when wind and low pressure are pushing water up an estuary.
Distance is deceptive too. A causeway that looks like a ten-minute stroll can be a kilometre of uneven, weed-slicked stone with a scramble at the far end. Add children, a dog, a picnic and a camera, and the crossing takes twice what you budgeted. The tide does not adjust its schedule to allow for any of that.
Three habits cause most of the trouble:
- Treating the high-water time as the deadline. By then, the causeway has usually been under water for a while.
- Using the tide table for the nearest large port and assuming it applies exactly where you are standing.
- Crossing on a falling tide without checking how much of the fall is left. The sea only goes out so far, then it stops, turns and comes back.
Reading the Tide for the Place You Are Actually Standing
Tide tables are calculated for a reference port, and the further your crossing is from that port, the more the times and heights shift. Around the British coast, a difference of several minutes is normal; in estuaries and around headlands it can be considerably more. Local harbour authorities, national park offices and the islands themselves often publish their own adjusted times and a recommended crossing window — use those in preference to a generic table.
Heights matter as much as times
Look at the height figure, not just the clock. A low water that barely drops below the level of the causeway will not open the route at all, however long you wait. This is where spring and neap tides come in. Spring tides have a bigger range: lower lows and higher highs. That can mean a longer window, but also faster-moving water when it returns. Neap tides are gentler but stingier, and some crossings never clear at all on a small neap.
The rule of twelfths, as a rough picture
Between low and high water, the tide does not rise evenly. As an approximation, roughly one twelfth of the total rise happens in the first hour, two twelfths in the second, three in the third, three in the fourth, two in the fifth and one in the sixth. The practical message is simple: the tide moves fastest around the middle of the cycle, which is exactly when many people are strolling back across a causeway at a relaxed pace. Wind, pressure and local shape all bend this rule, so use it to build caution, not confidence.
Plan to be back before the middle of the tide, not before high water.
Building a Margin You Can Trust
The single most useful thing you can do is choose a turn-around time rather than a last-crossing time, and then treat it as immovable. Work it out like this:
- Time the crossing honestly. Walk it, or estimate from the map, then add something for wet stone, gates, sand and slower members of the group.
- Add the time you want on the island. Be realistic — an hour sounds generous until you have found a good spot for lunch.
- Double it. If the whole plan comes to an hour and a half, plan for three. This is not fussiness; it is the only margin that survives a twisted ankle, a lost phone or a reluctant child.
- Find the flood time, not the high-water time. Identify when the causeway is expected to start covering, then place your entire trip so that you are off it well before that moment.
- Set an alarm. Phone, watch, both. A turn-around time you have to remember is a turn-around time you will miss.
If the arithmetic leaves you with an awkwardly short visit, that is useful information. Come back on a bigger tide, or pick another day. A tidal island visited in a hurry is not much fun anyway.
What to Carry and What to Wear
The kit is modest but specific. Causeway surfaces are often slimy and uneven, so grip matters more than waterproofing.
- Footwear with real grip, worn in. Not smooth-soled trainers, and not bare feet on wet weed.
- A watch, plus a screenshot or printout of the tide times. Phone batteries die and signal is patchy on small islands.
- A torch or headtorch, even in midsummer.
- Water, food and a warm layer. Islands feel colder than the mainland once the wind gets at them.
- A dry bag for the phone and keys.
- Sun cream and a hat — exposed causeways offer no shade at all.
Tell someone where you are going, which island, and when you expect to be back. In the UK, if anything does go wrong, call 999 and ask for the coastguard. Do not wait until it feels serious; they would far rather answer an early call than a late one.
If the Water Is Coming In and You Are Still Out There
Stay calm and go up rather than across. Some causeways, including Holy Island's, have refuge boxes on stilts for exactly this situation — use one if it is within reach, and get everyone inside and out of the wind. If there is genuine high ground on the island, head for it and stay together. Call for help, describe your position as precisely as you can, and keep a light visible.
Do not attempt to swim or wade a flooded causeway. The current across a submerged road is stronger than it looks and the footing is invisible. It is a far better day out if the worst thing that happens is a cold hour in a refuge box and a story for the drive home.
A Simple Pre-Crossing Checklist
- Check the tide table for the nearest reference point and note any local offset.
- Note the low-water time and height, and whether it is a spring or neap tide.
- Identify the time the causeway starts to flood, not the time of high water.
- Work out your total trip time, double it, and fit it into the safe middle of the window.
- Set an alarm for your turn-around time and agree it with everyone in the group.
- Check the forecast, wind direction and pressure trend. Onshore wind and low pressure steal your margin.
- Confirm the island is open to visitors and that any causeway rules — vehicle restrictions, seasonal wildlife closures, private land — allow what you are planning.
- Leave a plan with someone on the mainland.
- If it feels rushed, do not go. The island will still be there next week.
Get it right and a tidal island gives you something rare: a few hours of genuine separation from the mainland, with the sea doing the gatekeeping. The trick is simply to leave before it closes the gate.
Photo: Valentine Kulikov / Pexels